Sansevieria parva, also known as Kenya Hyacinth or Sansevieria ‘Kenya’, is a charming and compact snake plant variety loved for its easy care and eye-catching foliage. If you’re looking to add a low-maintenance, air-purifying plant to your indoor or outdoor space, Sansevieria parva is a top choice. This article will guide you through planting, growing, and caring for Sansevieria parva using simple steps and helpful tips.
What is Sansevieria parva?
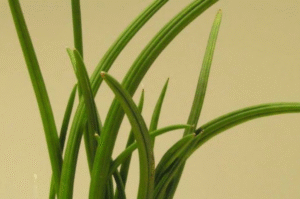
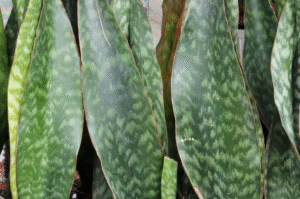
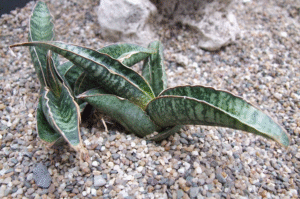
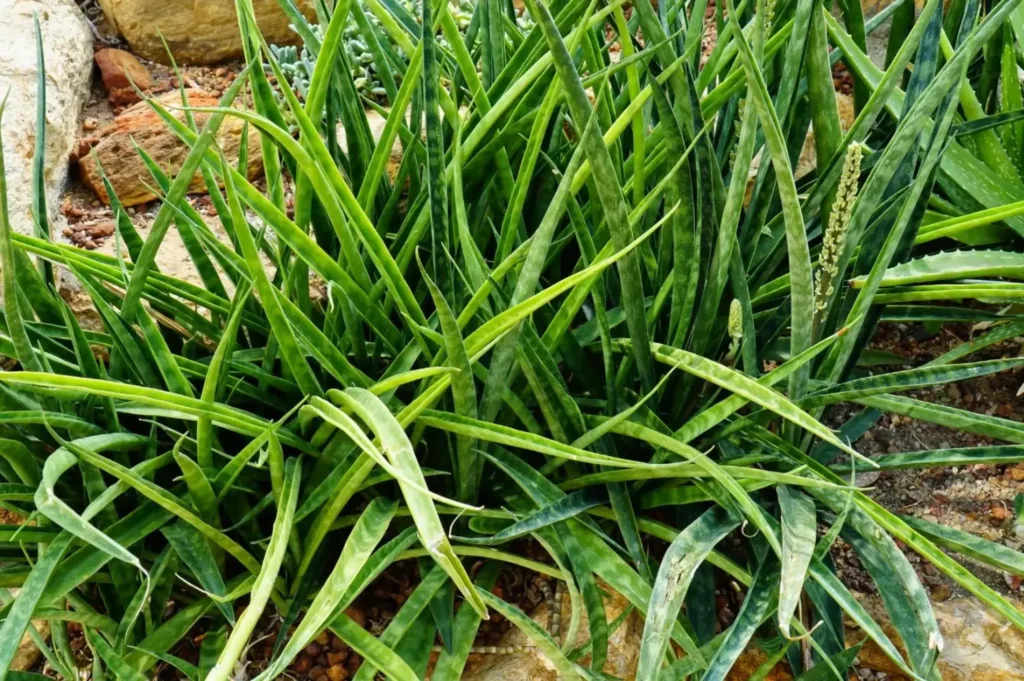
Sansevieria parva is a member of the Dracaena genus (previously under Sansevieria). It features narrow, lance-shaped leaves that grow in a rosette form. Unlike its taller cousins like Sansevieria trifasciata (Mother-in-law’s tongue), this plant stays compact, usually reaching 8 to 12 inches in height.
The plant is native to eastern Africa, especially Kenya and Uganda, and is well-adapted to dry, warm climates. It’s an ideal choice for small pots, shelves, desks, or grouped with other succulents.
Benefits of Growing Sansevieria parva
Before diving into the how-to part, let’s look at why Sansevieria parva is such a popular plant:
- Air purification: Like other snake plants, it removes toxins like formaldehyde and benzene from the air.
- Low maintenance: Requires minimal water and survives in low light.
- Compact size: Great for apartments and small spaces.
- Pet-safe (to an extent): Slightly less toxic than other snake plants, though still mildly toxic if ingested.
How to Plant Sansevieria parva
1. Choose the Right Pot
Start with a pot that has drainage holes. Sansevieria parva does not like sitting in wet soil, so good drainage is essential. A terracotta or clay pot is a great option as it allows moisture to evaporate more quickly.
2. Select the Right Soil
Use a well-draining cactus or succulent soil mix. You can also make your own by mixing:
- 2 parts potting soil
- 1 part perlite or pumice
- 1 part coarse sand
This mix keeps the roots from staying wet and prevents root rot.
3. Propagation or Planting
If you’re planting a new Sansevieria parva or propagating from pups:
- Propagation by Division: Gently separate pups (baby plants) from the main plant using a clean knife.
- Let the pup dry for a day to heal the cut.
- Plant it in the new pot with fresh soil.
Growing Conditions for Sansevieria parva
To help your Sansevieria parva grow healthy and strong, it’s important to provide the right conditions.
1. Light Requirements
Sansevieria parva does well in bright, indirect sunlight but can also tolerate low light. However, if you want the best growth, place it near a south or east-facing window.
- Bright Light = Faster growth
- Low Light = Slower growth
Avoid direct hot sunlight as it can burn the leaves.
2. Watering Needs
Watering is one of the few ways to kill this hardy plant. So, follow the “soak and dry” method:
- Water thoroughly only when the top 2 inches of soil feel dry.
- Reduce watering in winter months to once every 3–4 weeks.
- Always empty the saucer to prevent root rot.
3. Temperature and Humidity
Sansevieria parva loves warm temperatures between 60°F to 85°F (15°C to 29°C).
- Keep it away from cold drafts and freezing temperatures.
- It can tolerate dry indoor air, so a humidifier is not necessary.
4. Fertilization
Feed the plant once a month during the growing season (spring and summer) with a balanced liquid houseplant fertilizer diluted to half strength.
- Avoid fertilizing in winter
- Over-fertilizing can harm the roots
How to Care for Sansevieria parva
1. Pruning
Pruning isn’t usually necessary unless you want to:
- Remove old, yellow, or damaged leaves.
- Keep the plant tidy and compact.
Use a sterile, sharp knife or scissors and cut at the base.
2. Repotting
Sansevieria parva grows slowly, so you only need to repot every 2–3 years, or when the plant outgrows the pot.
Signs it’s time to repot:
- Roots growing out of drainage holes
- The pot looks deformed
- Soil dries out too quickly
Choose a pot 1–2 inches larger in diameter than the current one.
3. Common Problems and Solutions
a. Yellowing Leaves
Cause: Overwatering or poor drainage
Solution: Let the soil dry out and check for root rot.
b. Brown Tips
Cause: Low humidity or underwatering
Solution: Water when dry and avoid cold drafts.
c. Mushy Base
Cause: Root rot
Solution: Remove rotting parts and replant in fresh, dry soil.
d. Pests
Watch out for mealybugs or spider mites. Use insecticidal soap or neem oil spray.
Propagating Sansevieria parva
Sansevieria parva can be propagated in several ways:
1. Division
- Remove the plant from its pot.
- Cut between the rosettes, making sure each has roots.
- Repot in separate containers.
2. Leaf Cuttings (Slower Method)
- Cut a healthy leaf into 3–4 inch sections.
- Let them dry for 1–2 days.
- Plant upright in moist, well-draining soil.
- Be patient! It can take several weeks for roots and pups to appear.
Tips for a Healthy Sansevieria parva
- Rotate the pot every month for even growth.
- Clean the leaves with a damp cloth to remove dust.
- Do not mist; this plant prefers dry conditions.
- If growing outdoors, bring it inside when temperatures drop below 50°F (10°C).
Is Sansevieria parva Pet-Friendly?
Sansevieria parva, like other snake plants, contains saponins, which can cause mild stomach upset in pets if ingested. Keep it out of reach of cats and dogs to avoid problems.
Conclusion
Sansevieria parva is an excellent choice for both beginners and seasoned plant enthusiasts. Its compact size, low water needs, and stylish rosette shape make it perfect for modern homes.
Whether you want to grow it indoors for its air-purifying benefits or add it to a succulent collection, Sansevieria parva is an easy and rewarding plant to care for. Give it a little attention, and it will return the favor with its enduring beauty and toughness.